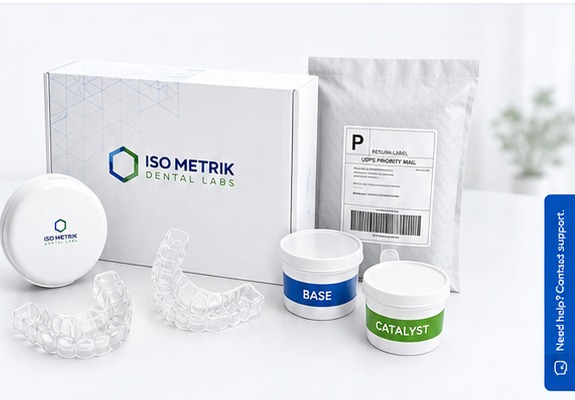
Follow these simple steps to get accurate impressions for your custom appliance.
1
Preparation
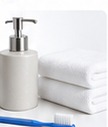
- Wash your hands thoroughly.
- Brush your teeth and rinse well.
- Have a clean, well-lit workspace.
2
Open & Mix Putty
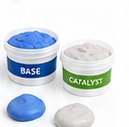
- Open both containers.
- Scoop equal amounts of base and catalyst.
- Mix together for 30–45 seconds until one uniform color forms.
3
Shape & Place Putty in Tray
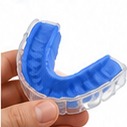
- Press the mixed putty into the tray.
- Spread evenly to fill the tray.
- Keep the surface smooth.
4
Take Your Upper Impression

- Place the tray in your upper arch.
- Press firmly and evenly.
- Hold still for 2–3 minutes.
5
Take Your Lower Impression

- Repeat the process for your lower arch.
- Ensure full coverage of the teeth.
- Hold still for 2–3 minutes.
6
Remove Impressions
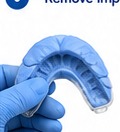
- Gently wiggle the tray loose.
- Remove carefully.
- Rinse impressions with cool water.
7
Inspect Your Impressions
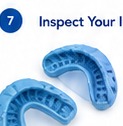
- Check that all teeth are clearly captured.
- Ensure no voids or thin spots.
- Retake if needed.
8
Send Pictures for Approval
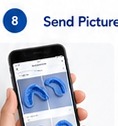
- Take clear photos of both impressions.
- Upload or text them using the link we send.
- We’ll confirm if they’re good to send.
9
Shipping Your Impressions
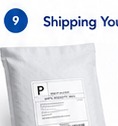
- Place impressions in the bag provided.
- Seal and place in the prepaid mailer.
- Drop it off with USPS.